
📘 Arch Linux Installation Guide (UEFI, Modern Hardware, With DE)

Below is a clean, modern, step-by-step documentation for installing Arch Linux with a Desktop Environment (DE) on a typical UEFI-based system.
This guide is written to be practical, new-user friendly, and technically correct.
1. Preparation
1.1 Download Arch ISO
- Get the latest ISO from the official Arch Linux website.
- Use the torrent or direct download.
1.2 Create a Bootable USB
Use one of:
Windows
- Rufus → GPT / UEFI mode
- Ventoy (copy ISO to USB)
Linux
sudo dd if=archlinux.iso of=/dev/sdX bs=4M status=progress oflag=sync
2. Boot Into the Arch ISO
Enter the BIOS:
- Set UEFI only (disable Legacy/CSM)
- Enable AHCI mode for storage
- Boot from USB
Select Arch Linux (x86_64) in the boot menu.
3. Initial System Setup
3.1 Check Internet
For wired:
ping archlinux.org
For Wi-Fi:
iwctl
station wlan0 connect "SSID"
4. Partitioning (UEFI)
Standard layout:
| Partition | Size | Type |
|---|---|---|
| EFI | 300–512 MB | FAT32 |
Root / | 20–100 GB | ext4/btrfs |
Home /home | (optional) remainder | ext4/btrfs |
| Swap | 2–8 GB or swapfile | Linux swap |
4.1 Launch partition tool
cfdisk /dev/nvme0n1
Choose gpt.
5. Format & Mount Partitions
5.1 Format
mkfs.fat -F32 /dev/nvme0n1p1
mkfs.ext4 /dev/nvme0n1p2
(Optional btrfs)
mkfs.btrfs /dev/nvme0n1p2
5.2 Mount
mount /dev/nvme0n1p2 /mnt
mkdir /mnt/boot
mount /dev/nvme0n1p1 /mnt/boot
6. Install Base System
6.1 Update package list
pacman -Sy
6.2 Install core packages
pacstrap -K /mnt base linux linux-firmware networkmanager
7. Generate fstab
genfstab -U /mnt >> /mnt/etc/fstab
8. Enter the New System
arch-chroot /mnt
9. System Configuration
Time
ln -sf /usr/share/zoneinfo/Region/City /etc/localtime
hwclock --systohc
Localization
Edit:
nano /etc/locale.gen
Uncomment:
en_US.UTF-8 UTF-8
Generate:
locale-gen
Hostname
echo myarch > /etc/hostname
Hosts file
nano /etc/hosts
Add:
127.0.0.1   localhost
::1         localhost
127.0.1.1   myarch.localdomain myarch
Enable NetworkManager
systemctl enable NetworkManager
10. Install Bootloader (GRUB UEFI)
pacman -S grub efibootmgr
grub-install --target=x86_64-efi --efi-directory=/boot --bootloader-id=GRUB
grub-mkconfig -o /boot/grub/grub.cfg
11. Create User & Set Passwords
Root password
passwd
User
useradd -m -G wheel -s /bin/bash username
passwd username
Enable sudo access:
EDITOR=nano visudo
Uncomment:
%wheel ALL=(ALL) ALL
12. Install Desktop Environment (DE) + Display Manager
Option A: KDE Plasma (recommended for modern systems)

pacman -S plasma sddm konsole dolphin packagekit-qt6
systemctl enable sddm
Option B: GNOME
pacman -S gnome gnome-tweaks gdm
systemctl enable gdm
Option C: XFCE (lightweight)
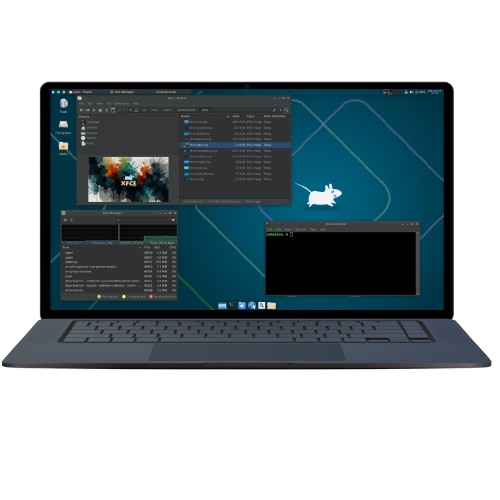
pacman -S xfce4 xfce4-goodies lightdm lightdm-gtk-greeter
systemctl enable lightdm
13. Install Essential Extras
GPU drivers
Intel
pacman -S mesa
AMD
pacman -S mesa xf86-video-amdgpu
NVIDIA (proprietary)
pacman -S nvidia nvidia-utils nvidia-settings
Useful utilities
pacman -S git base-devel firefox vim htop pipewire pipewire-alsa pipewire-pulse
14. Finalize Installation
Exit & reboot:
exit
umount -R /mnt
reboot
Remove USB.
System should boot into your new Arch Linux Desktop Environment.
15. Post-Install Suggestions
- Enable Bluetooth:
systemctl enable bluetooth
- Enable multilib (for gaming / Steam)
Edit/etc/pacman.conf→ uncomment:
[multilib]
Include = /etc/pacman.d/mirrorlist
Then:
pacman -Sy
- Install AUR helper (yay):
git clone https://aur.archlinux.org/yay.git
cd yay
makepkg -si